Setting Up Blog

 Written byBernard Bado
- Published At
Writing helpful blog posts is a great way to get in front of your audience, and grow your SaaS. For this reason, we decided to add a fully featured blog to our template.
By following the instructions in this post, you'll have a running blog inside your SaaS in a couple of minutes.
Create Sanity Account
Sanity will serve as a CMS for our blog. If you don't have an account yet, you can create one for free.
Once your account is ready, head over to the project and go inside cms directory.
Installing Sanity Studio
First, we need to install dependencies by running yarn or npm install inside cms directory.
When dependencies are installed, we proceed by creating a new project. Run yarn sanity:init or npm run sanity:init.
This will trigger the creation of a new project inside Sanity.

Create new project in Sanity
You will be prompted to provide a name for your project.

Sanity project name
You will also be prompted to choose dataset configuration. Just use the default one.

Using default dataset configuration
Next, we need to pick a domain where our CMS gets deployed.

Sanity studio name
We should see the success message with the URL for our CMS.

Sanity Studio success
Just click on the generated URL and sign in with your Sanity account.
Writing First Blog Post
Now that we have the CMS up and running, it's time to write the first blog post.
Adding Author
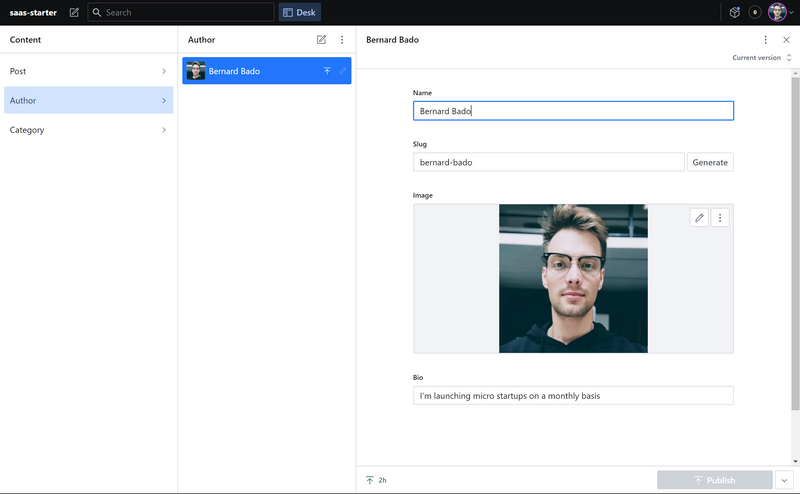
Every blog post needs an author. Start by creating one inside Sanity Studio.

Creating author inside Sanity studio
Adding Category
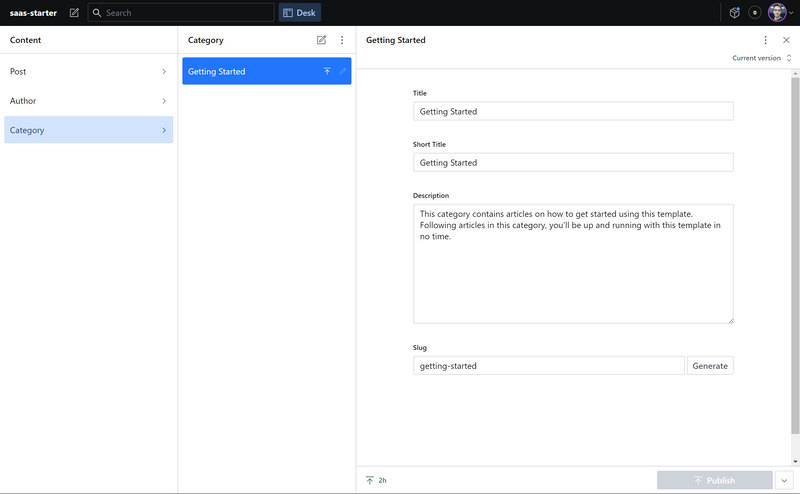
Same as with the author, we need to create a category for our blog post.

Creating category inside Sanity
Adding Blog Post
And finally, we're ready to create a blog post.
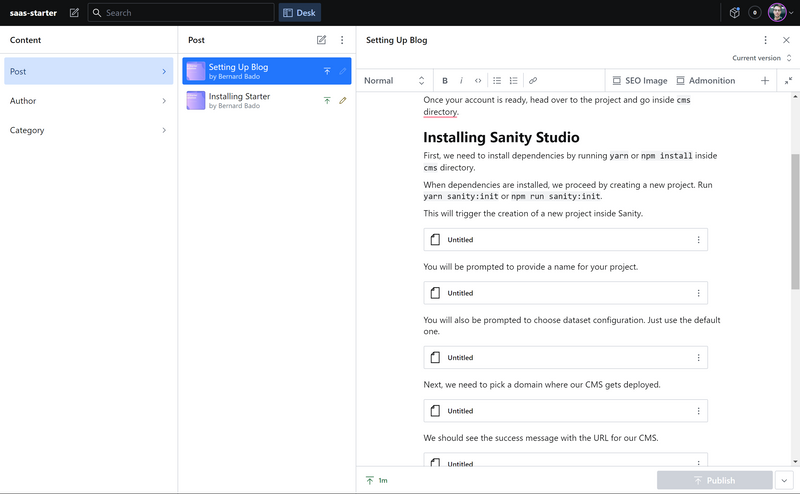
Sanity studio is preconfigured with basic tools to write a comprehensive blog post.

Sanity Editor
If you feel that it's not sufficient for you, you can still customize it to your liking.